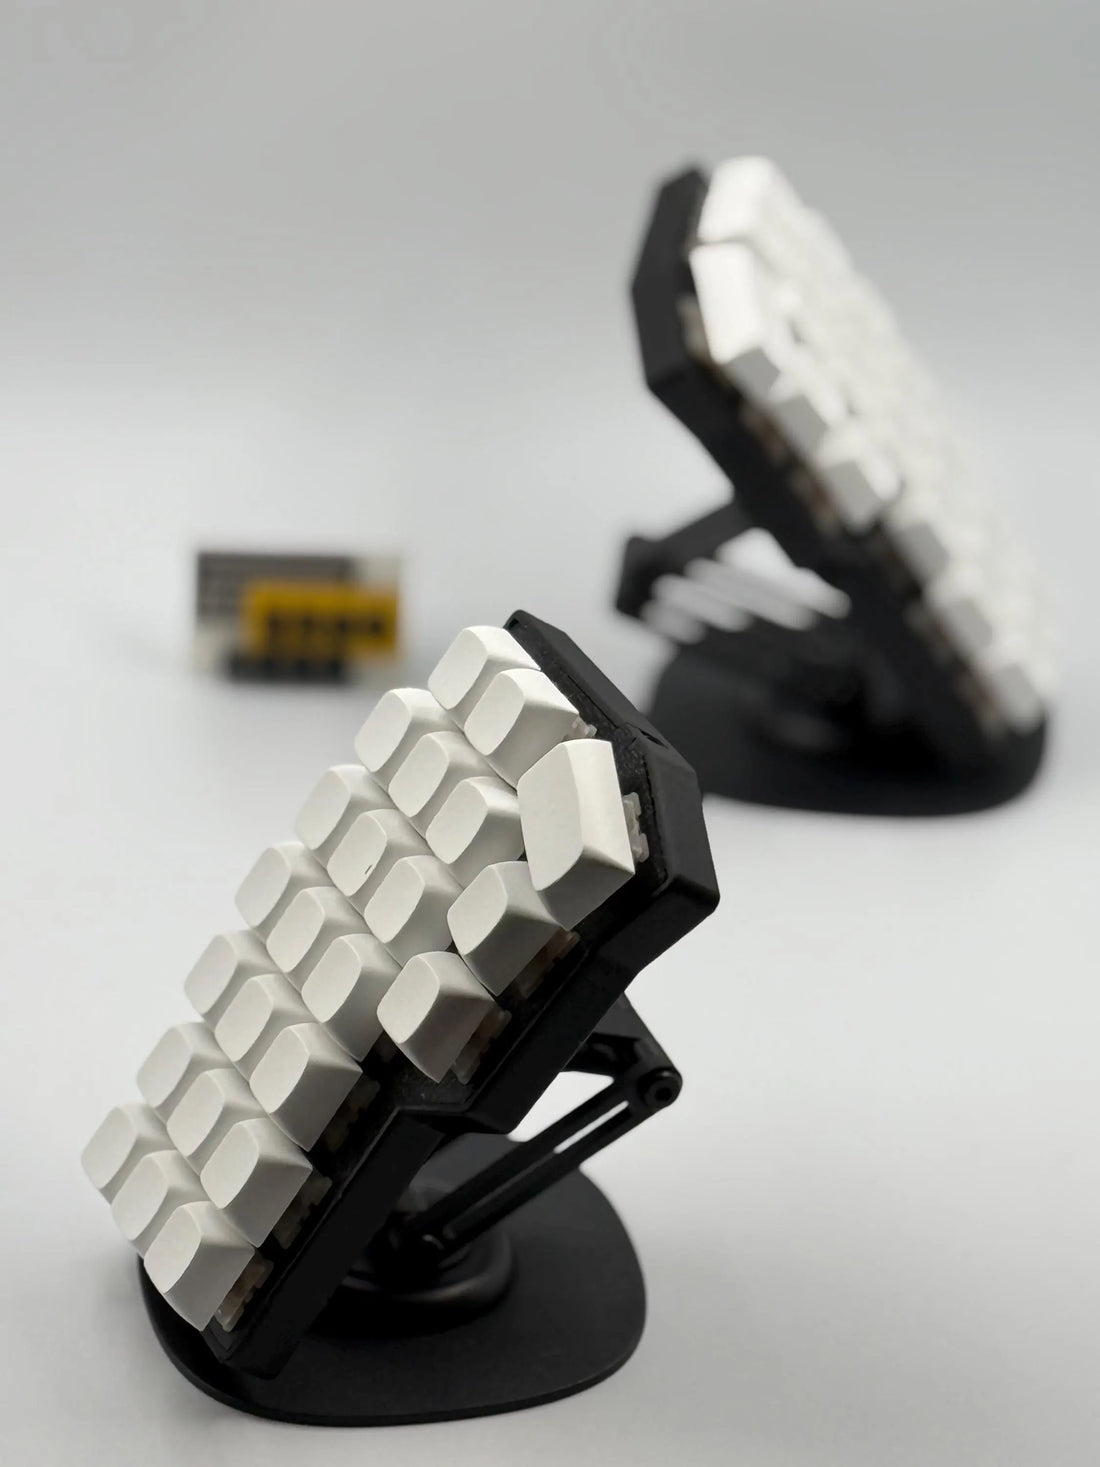
Guide to Flash Vial Firmware on the Corne V4.1 Wired Keyboard
Share
Guide to Flash Vial Firmware on the Corne V4.1 Wired Keyboard
Prerequisites
-
Hardware:
- A fully assembled Corne V4.1 wired keyboard (left and right halves).
- A USB cable to connect either left or right halves to your computer (one at a time).
-
Firmware Files:
- You’ll need the VIAL firmware file for the Corne V4.1.
- Or get it from the foostan repository: https://github.com/foostan/crkbd/blob/main/docs/firmware/rev4/firmware_en.md
Step 1: Enter Bootloader Mode
For the Corne V4.1, entering bootloader mode is straightforward due to its RP2040-based design (or similar), which mounts as a USB drive when in bootloader mode.
Method 1: You can either press the reset button or hold down the "Q" or "P" keys while plugging in the keyboard to enter the bootloader and flash the new firmware.
Method 2: Connect to the PC while holding down the BOOT button, or while connected to the PC, hold down the BOOT button and press the RESET button. After that, an RPI-PR2 device will be mounted.
Step 2: Flash the Firmware
-
Flash the Left Half:
- Open the RPI-RP2 drive.
- Drag (or copy and paste) the firmware file into the drive.
- Wait a few seconds—the drive will disappear once flashing is complete.
-
Flash the Right Half:
- Disconnect the left half.
- Repeat Step 2 for the right half, then drag the firmware file into the RPI-RP2 drive.
- Wait for the drive to vanish, confirming the flash.
Step 3: Test the Keyboard
-
Connect the Halves:
- Use a TRRS/TRS cable to connect the left and right halves.
- Plug the left half into your computer via USB (for wired setups, the left half is typically the “master”).
-
Verify Functionality:
- Open the Vial application (or a text editor like Notepad).
- Press keys on both halves to ensure they register correctly.
- If the keyboard isn’t detected or keys don’t work, double-check the firmware files match your hardware and that the TRRS connection is secure.
-
Use Vial:
- In the Vial app, your Corne V4.1 should appear if the firmware was flashed correctly. You can now customize keymaps, layers, and settings without reflashing.
Optional: Compile Your Own Firmware
If precompiled .uf2 files aren’t available or you need a custom setup (e.g., more layers or specific features), compile the firmware yourself.
-
Set Up QMK Environment:
- Install QMK Toolbox and the QMK CLI by following qmk.fm setup instructions.
- Clone the Vial-QMK repository:
text
git clone --recurse-submodules https://github.com/vial-kb/vial-qmk.git
cd vial-qmk
-
Configure for Corne V4.1:
- Navigate to keyboards/crkbd/rev4.
- Edit rules.mk or config.h if needed (e.g., to enable OLEDs or adjust layer count).
-
Compile:
- Run the following command (replace rp2040 with your microcontroller if different):
text
make crkbd/rev4:rp2040:vial - This generates .uf2 files in the vial-qmk directory.
- Run the following command (replace rp2040 with your microcontroller if different):
-
Flash:
- Use the compiled .uf2 files as in Step 3.
Troubleshooting
- Drive Doesn’t Appear: Ensure you’re holding the BOOT button correctly when connecting. Try a different USB cable or port.
- Keys Don’t Work: Verify you flashed the correct firmware (left vs. right). Reflash if needed.
- Vial Doesn’t Detect: Confirm the firmware includes Vial support (check filenames or compile with Vial enabled).
- One Half Unresponsive: Check the TRRS cable and ensure both halves were flashed with matching firmware versions.
Additional Notes
- The Corne V4.1 wired version doesn’t require a JSON file like VIA, as Vial handles keymap changes dynamically.
- Always flash both halves with the same firmware version to avoid compatibility issues.
- For RP2040 boards, no additional software (e.g., QMK Toolbox) is needed—just drag and drop!
That’s it! Your Corne V4.1 wired keyboard should now be running Vial firmware, ready for customization. Enjoy your ergonomic typing experience! If you run into issues, feel free to ask for help—happy typing!
Source and license:
https://github.com/foostan/crkbd
